6 Step Pull Up Progression For Women
There is no exercise that is a more true testament to upper-body strength than the pull-up or chin-up.
What I love about pull-ups and pull-up variations is that they require nothing but your body and a bar. That’s it.
As well, unlike a lat pull down machine and other lat/upper back exercises, you can’t “cheat” a pull up. If you can’t do one, you just can’t do one.
When it comes to being strong for sports, the pull-up is one of the best exercises you could base your training on. As well, when it comes to adding muscle to your upper back, lats, shoulders, biceps and forearms, the pull-up and chin-up are amazing.
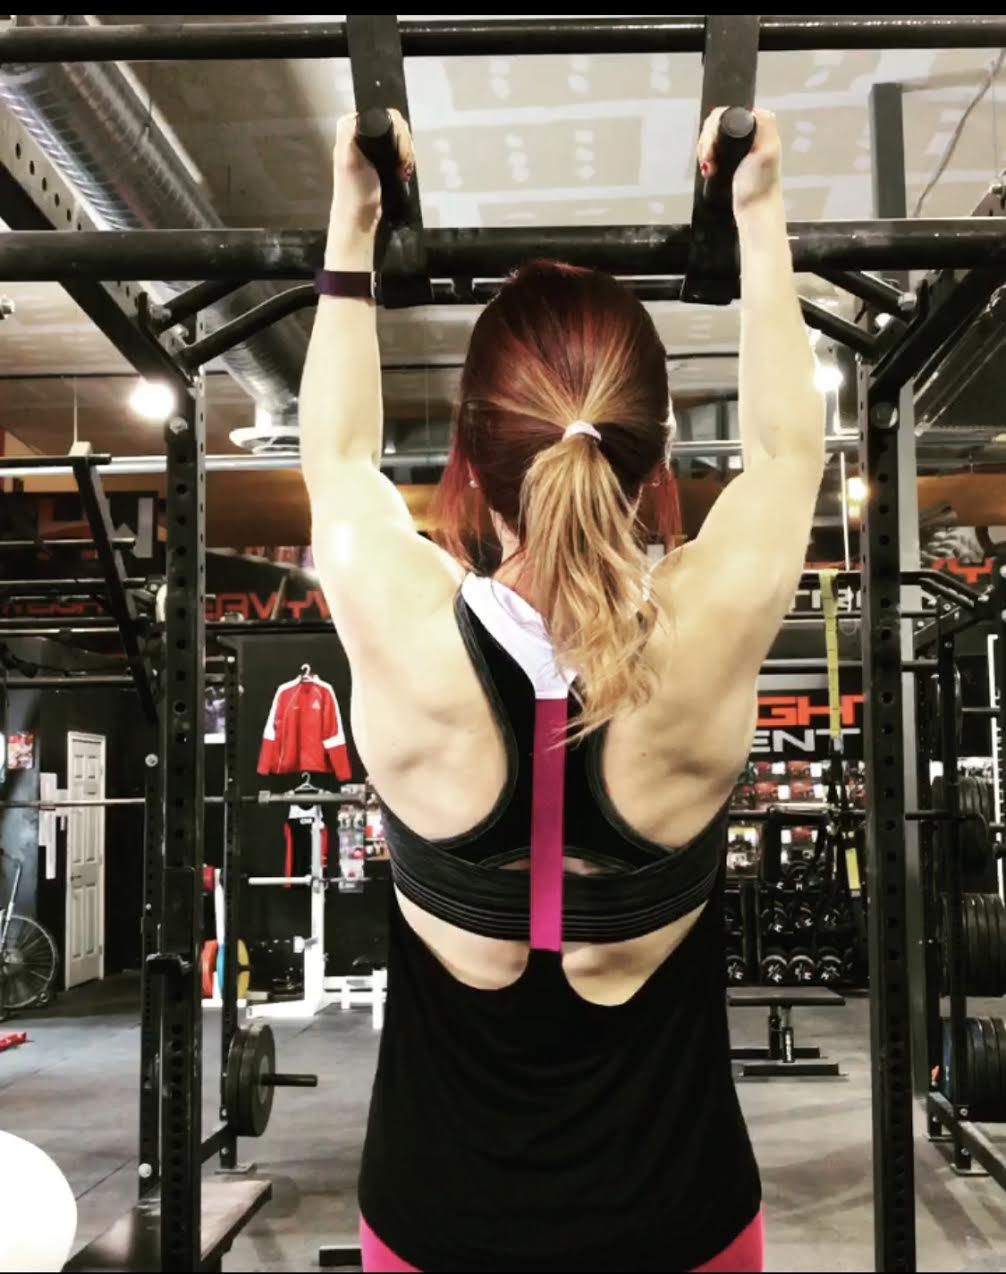
Here are a few of the girls I have trained.
You can see the development in their backs.
Remember that this is not easy for females.


I am not knocking machines. I think they have great benefits, but for foundation strength, the pull-up is one of the best exercises.
Here are 6 steps that I use with my Heavyweights Training Center Clients to get them STRONG. (I actually have about 30 females at my gym who can do pull-ups. This is how I get them strong!)
#1 Bottom Grip Hold (Semi-straight arm)
The bottom grip hold is very simple.
You grab the bar, squeeze the grip as hard as you can and hang (under tension) for as long as you can.
Make sure that you practice this often. Strength starts with your grip, and if your upper back is strong but your grip is weak, your pull-ups and pulling strength will never reach maximum potential. Simply start by holding and gripping the bar as long as you can. Over time try to hold it longer and longer.
Thick grip tools like ‘Fat Gripz‘ and ‘Grip Force‘ can help you improve grip strength & forearm strength fast.
Your goal should be to do a bottom grip hold for 30 seconds until you progress to Step 2. Step 2 is the top flex arm grip hold.
#2 Top Grip Hold (Flexed Arm)
The top grip hold is very similar to the bottom grip hold, except that your arms are bent at 90% or more and your chin is above the bar. This will recruit your bicep and upper arm muscles a lot more than the bottom grip hold.
A key to success in this is not just to hold on, but to focus on driving the ELBOWS to your side. This will keep tension on the lats, which is critical in getting stronger on pull-ups and chin-ups.
As well, keeping your feet in front of you, the way I do it, will require your lower core to work very hard. The core is a big factor in proper pull-ups so don’t cross your legs behind you. This reduces core activity.
Your goal before you progress to step 3 negatives is to hold a top grip flex hold for 30 seconds.
#3 Negatives
This is where the real fun begin.
With the negative, your goal is to control and lower your body under control from the top position to the bottom position of a pull up. Working on negatives will increase your strength fast, but, fair warning, they will also increase your soreness. When you do these right after you get out of bed, the next day to have deep soreness under your armpits (aka your lats).
With the negatives, be sure you are focusing on keeping your elbows to your side/hips. This will engage the lats a lot more. The lats are the primary muscles in the pull-up, so you want as much lat recruitment as possible!
The goal for the negative is to control descent. Place your feet in front to keep the core engaged.
Your goal before step 4 is a 30-second controlled negative.
#4 Negatives With Pauses
This is very similar to doing negatives, but here you want to add in a controlled PAUSE.
Start out by lowering slow and then stopping. Hold the pause position under control. Then slowly start your negative again. The goal with the pause hold is 2-3 pauses with perfect control before going on to Step 4.
#5 Pull-Up Starting At Top Position
By starting at the top part of the pull-up position, you can control your lowering. By lowering and then starting your pull-up, you gain some momentum made by the muscles contracting on the way down. This little bit of a “cheat” allows someone to get their first pull-up much more easily than starting from a dead hang position (bottom).
I have used this with many clients, and it works wonders for them to get their first pull-up. This then leads them to more confidence. It’s so awesome when someone realizes that they are actually strong enough to do an un-assisted pull up.
#6 Dead Hang Pull Up
This is the big one. I love a dead hang pull-up as it shows true upper-body and pulling strength. You want to start this from a dead hang position, but be sure to always have a little bit of tension (non-locked out) biceps. I prefer some tension in the biceps. Other coaches prefer the arms in a fully-locked out position.
Either way, it can be done. I just prefer to have some tension in the biceps for a few reasons. I have two torn biceps and the less strain I can put on my bicep tendons, the better.
As well, for a lot of females, once the biceps are in a locked position (straight), it will make it very hard to do a pull-up as the bicep is the weakest link in the chain.
Another thing is to keep some tension in the shoulder area. I keep tension throughout, and never fully relax at the bottom.
There you have my 6-step progression to an unassisted pull up.
I have gotten many female clients fit enough to do unassisted pull-ups in under 6 weeks. They all go through my progression. Always remember, you are only as strong as your weakest link.
Doing pull-ups requires grip strength, finger strength, forearm strength, biceps, shoulders, lats, core and more.
Give this 6-step progression a try and I promise, you will be doing pull-ups fast.

If you are looking for a quality bull up bar for home check out THIS multi grip pull up bar that attaches to any door frame.
I hope you found this article helpful.
If you did please comment, like & share.
Thanks.
Coach Rob
 Want to get a copy of our 6 Week Pull Ups For Women Program?
Find out how you can get your copy HERE.

Rob King is a Competitive PowerLifter, Coach and Writer.


